
 Edward Harrington
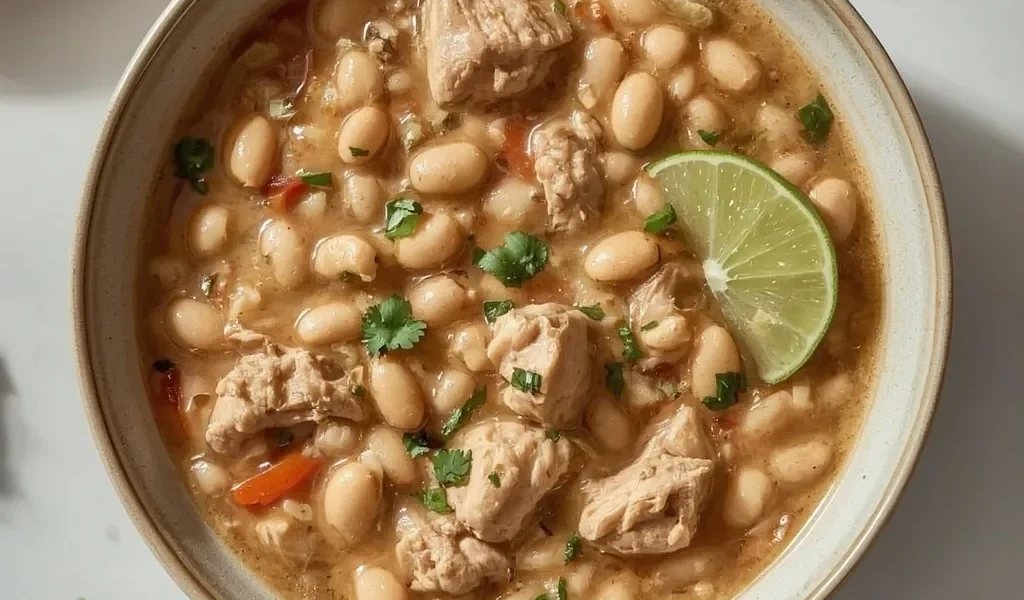
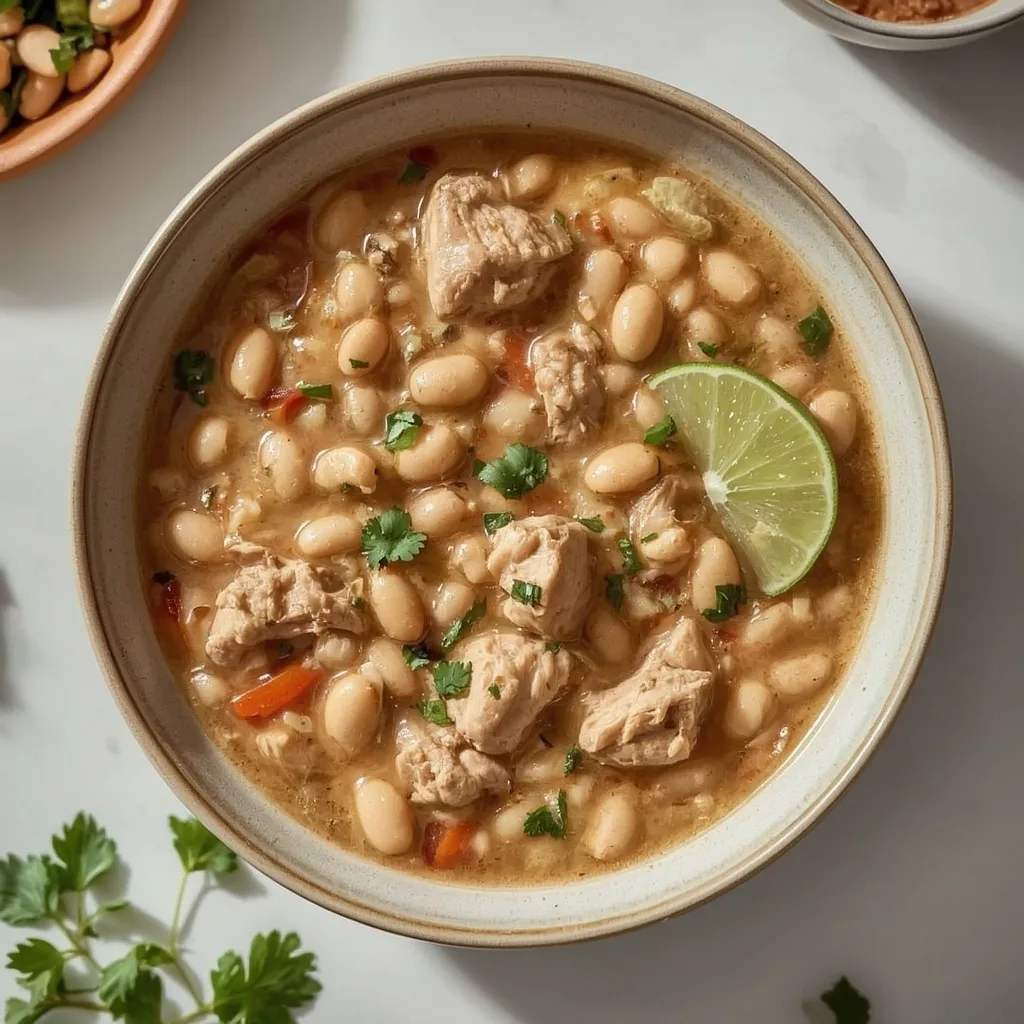
 Giada White Bean and Chicken Chili is a hearty, Italian-inspired one-pot meal that leans more savory broth than thick stew. Tender chicken and creamy cannellini beans simmer in a cumin-and-oregano spiced base, finished with fresh lime and cilantro for brightness.
You can have it on the table in just 50 minutes total — 15 minutes of prep and 35 minutes of stovetop cooking. It is beginner-friendly, with one tricky moment: searing the chicken cubes without overcooking them. Make this on a busy weeknight when you want something satisfying without a long ingredient list.
What Is Giada White Bean and Chicken Chili?
This dish is a lighter, broth-forward chili made with cubed chicken breast, cannellini beans, green chiles, and a mild spice blend. You cook everything in one pot, so the chicken stays tender and the beans soak up flavor as it simmers. The texture is silky from the beans, with a bright, clean finish from lime and cilantro. It is perfect for a quick dinner or for meal prep that reheats well later in the week.
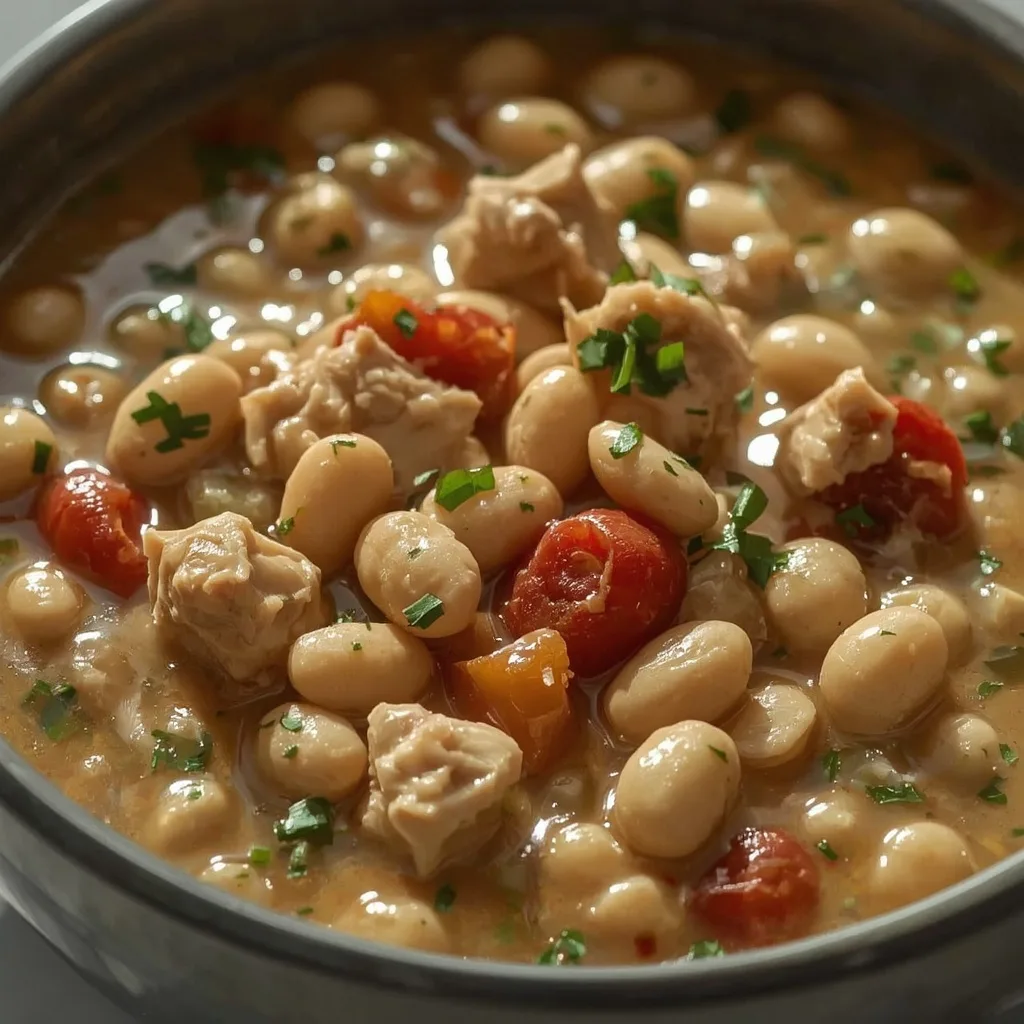
Try these High Protein Recipes
Why This Recipe Works
- One-pot cooking — Everything simmers together in a single heavy pot, so flavors meld deeply and cleanup is minimal.
- Bright finish balances richness — Fresh lime juice and cilantro stirred in at the end cut through the savory broth, keeping each spoonful fresh.
- Beans create creaminess without dairy — Cannellini beans break down slightly during simmering, giving the broth a silky body without adding cream or cheese.
- Chicken stays tender through controlled heat — Searing over medium-high and then simmering gently on low prevents the meat from drying out.
- Short ingredient list uses pantry staples — Canned beans, broth, and spices do most of the work, making this an easy weeknight fallback.
Ingredients You’ll Need
Here is every ingredient you need, grouped by role. Each one has a specific job in building flavor and texture.
Aromatics and Oil
- 1 tablespoon olive oil — Use a good-quality extra-virgin olive oil for sautéing the onion and garlic. It adds a subtle fruity base.
- 1 medium yellow onion, finely diced — Yellow onion gives the most balanced sweetness. Dice it small so it softens fully into the broth.
- 2 cloves garlic, minced — Fresh garlic is essential here. Mince it just before adding to keep the pungent flavor bright.
Protein and Spices
- 1 pound boneless, skinless chicken breast, cut into 1/2-inch cubes — Cubing the chicken ensures it cooks quickly and evenly. Keep pieces uniform for best results.
- 1 teaspoon ground cumin — Cumin gives the chili its warm, earthy backbone. Toast it briefly with the chicken to deepen the flavor.
- 1 teaspoon dried oregano — Dried oregano works better than fresh here — it holds up during simmering and adds an herby note.
- 1/2 teaspoon kosher salt — Start with this amount and adjust at the end. Kosher salt dissolves evenly and seasons the broth well.
- 1/4 teaspoon freshly ground black pepper — Freshly ground pepper has more aroma than pre-ground, so do not skip grinding it yourself.
Canned Goods and Broth
- 2 cans (15 ounces each) cannellini beans, drained and rinsed — Rinsing removes excess sodium and starch. Drain well to avoid thinning the chili.
- 1 can (4 ounces) diced green chiles, undrained — Mild green chiles add gentle heat and acidity. Keep the liquid for extra flavor.
- 2 cups low-sodium chicken broth — Low-sodium broth lets you control the final salt level. If using regular broth, reduce the added salt to 1/4 teaspoon.
Finishing Ingredients
- 1 tablespoon fresh lime juice — Bottled juice will not work here. Fresh lime juice adds a clean, bright finish that lifts the whole dish.
- 2 tablespoons fresh cilantro, chopped — Stir in cilantro just before serving so it stays vibrant. You can also use flat-leaf parsley if cilantro is not your thing.
Kitchen Tools You’ll Need
- Large Dutch oven or heavy-bottomed pot — A 5- to 6-quart Dutch oven holds everything comfortably and distributes heat evenly for gentle simmering.
- Sharp chef’s knife — You need a good knife to cube the chicken breast uniformly and dice the onion finely.
- Cutting board — Use a sturdy one. A wooden or plastic board works fine for both vegetables and raw chicken.
- Wooden spoon or silicone spatula — A flat-edged spoon stirs without scratching the pot’s surface and helps scrape up any browned bits.
- Potato masher (optional) — Use it to lightly mash some beans against the pot if you want a thicker, creamier consistency without adding dairy.
How to Make Giada White Bean and Chicken Chili
This recipe moves quickly once you start cooking. Read through the steps once before you begin so you know when to add each ingredient.
- Sauté the onion — Heat the olive oil in a large Dutch oven over medium heat until the oil shimmers and thins. Add the diced onion and cook for 4–5 minutes, stirring occasionally, until softened and translucent. If the onion starts to brown, lower the heat slightly.
- Add the garlic — Stir in the minced garlic and cook for 30 seconds, stirring constantly, until fragrant. Garlic burns fast — pull the pot off the heat for a few seconds if needed.
- Sear the chicken — Add the cubed chicken breast in a single layer. Increase heat to medium-high and let it cook undisturbed for 2 minutes. The underside should develop a light golden crust. Then stir and continue cooking for 2–3 minutes until the chicken is no longer pink on the outside but not cooked through.
- Toast the spices — Sprinkle cumin, oregano, salt, and pepper over the chicken. Stir to coat evenly and cook for 1 minute until the spices become fragrant. This short toast deepens their flavor.
- Add beans and chiles — Stir in the drained cannellini beans and the entire can of diced green chiles with their liquid. Mix well to combine everything.
- Pour in broth and simmer — Add the chicken broth and bring the chili to a vigorous simmer over high heat. Immediately reduce the heat to low. You should see gentle bubbles breaking the surface — that steady simmer keeps the chicken tender.
- Cover and cook — Partially cover the pot with a lid, leaving a small gap. Simmer for 20 minutes, stirring occasionally. The chili will thicken slightly, and the chicken should be fully cooked and tender. If you check a piece, it should register 165°F internally.
- Finish with lime and cilantro — Remove the pot from the heat. Stir in the fresh lime juice and chopped cilantro. Taste and adjust seasoning with more salt or an extra squeeze of lime if needed.
- Optional thickening step — Before adding the lime and cilantro, use a potato masher to lightly mash some beans against the side of the pot. This releases their starch and creates a creamier texture without adding dairy.
- Rest before serving — Let the chili rest off the heat for 5 minutes before serving. This allows the flavors to settle. Serve in bowls with extra cilantro, a dollop of sour cream or Greek yogurt, and sliced jalapeño if you want more heat.
Common Mistakes to Avoid (And How to Fix Them)
- Overcooking the chicken — Cubed chicken breast dries out fast if you simmer too long. Keep the heat low and stick to the 20-minute simmer. If you go over, the chicken will turn stringy.
- Burning the garlic — Garlic turns bitter when it browns. Add it to the pot only after the onion is soft, and stir constantly for just 30 seconds. If you see color developing, pull the pot off the burner immediately.
- Skipping the spice toasting step — Cumin and oregano release much more flavor when briefly heated in oil. Without that short toast, the chili will taste flat. Do not skip the 1-minute cook after adding the spices.
- Using high heat for the entire cook — Bringing the chili to a boil, then reducing it to a gentle simmer, is key. A rolling boil toughens chicken and makes beans mushy. After the initial boil, keep the heat on low.
- Adding all the salt at the start — Broth and canned beans already contain sodium. Start with 1/2 teaspoon of salt, then adjust at the end after tasting. This prevents an overly salty chili.
- Not rinsing the canned beans — The liquid in canned beans is starchy and salty. Drain and rinse them thoroughly to avoid a cloudy, overly salty broth.
Helpful Tips for Perfect Giada White Bean and Chicken Chili
- Cut chicken into uniform 1/2-inch cubes — Even pieces cook at the same rate, so some cubes will not be overdone while others are undercooked. Take the extra 30 seconds to trim and size them consistently.
- Let the onion soften without browning — Translucent onion adds sweetness without bitterness. If your stove runs hot, drop the heat to medium-low after the first minute of cooking the onion.
- Use low-sodium broth for better control — Regular broth plus the salt from canned beans can push the sodium too high. Low-sodium broth lets you season precisely at the end.
- Partially cover the pot while simmering — Leaving a small gap lets steam escape gradually, concentrating the broth without reducing it too fast. Covered completely, the chili stays watery.
- Mash a few beans for creaminess — A quick press with a potato masher releases starch from the beans, thickening the chili naturally. This works even better if you do it right before adding the lime juice.
- Add the lime juice off the heat — Heat can dull lime’s bright flavor. Stir it in only after you remove the pot from the burner for the most vibrant finish.
- Rest the chili before serving — Those 5 minutes off the heat let everything meld. The broth thickens slightly, and the flavors taste more integrated.
Easy Ingredient Substitutions for Giada White Bean and Chicken Chili
- Chicken breast → boneless skinless chicken thighs — Thighs stay juicier during simmering and add a richer flavor. No other adjustments needed; cook time stays the same.
- Cannellini beans → Great Northern beans or navy beans — Both have a similar creamy texture and mild taste. No change in quantity or cooking method.
- Low-sodium chicken broth → vegetable broth — Vegetable broth works perfectly for a meat-free version. It will slightly change the flavor profile, but the chili still tastes hearty.
- Dried oregano → 1 tablespoon chopped fresh oregano — Fresh oregano is milder, so you need about three times the volume. Add it with the beans rather than toasting it with the spices.
- Fresh cilantro → 2 tablespoons chopped flat-leaf parsley — Parsley provides a similar fresh, green finish without the bold cilantro flavor. Add it at the same time as the lime juice.
- Olive oil → avocado oil — Avocado oil has a higher smoke point and a neutral taste. Use the same amount and same cooking method.
Easy Ways to Customize Giada White Bean and Chicken Chili
- Spicier chili — Add 1/2 teaspoon of cayenne pepper with the cumin and oregano, or stir in a finely diced jalapeño with the onion. The heat melds into the broth evenly.
- Smokier flavor — Replace 1 teaspoon of cumin with smoked paprika. It adds a deep, smoky note that pairs well with the beans and chicken.
- Extra vegetables — Toss in 1 cup of frozen corn kernels or a diced zucchini with the beans. They add texture and color without changing the cooking time.
- Thicker, stew-like consistency — After simmering, mash about half the beans directly in the pot with a potato masher. You get a creamy, almost refried bean texture without blending.
- Dairy topping bar — Set out bowls of shredded Monterey Jack cheese, sour cream, diced avocado, and pickled jalapeños. Everyone can dress their bowl to taste.
- Lime cilantro rice on the side — Serve the chili over steamed white rice tossed with extra lime juice and cilantro. It stretches the meal and adds a fluffy texture contrast.
Best Ways to Store Giada White Bean and Chicken Chili
- Refrigerator in an airtight container — Store for up to 4 days. Let the chili cool completely before sealing to prevent condensation. Leave the lid slightly ajar for the first hour.
- Freezer in a freezer-safe container — Cool the chili completely, then transfer to containers, leaving 1/2 inch of headspace. Freeze for up to 3 months. Label with the date for easy tracking.
- Freezer in a resealable freezer bag — Pour cooled chili into a heavy-duty bag, squeeze out excess air, seal, and lay flat. This saves space and thaws faster. Keep portion sizes at 2 cups per bag.
- Portion into individual containers — Divide the chili into single-serving containers before refrigerating or freezing. It makes grab-and-go lunches or quick dinners much simpler.
- Thaw overnight in the refrigerator — For frozen chili, move it from the freezer to the fridge the night before you plan to eat it. This gentle thawing keeps the texture intact.
Best Ways to Reheat Leftovers
- Stovetop over medium-low heat — Transfer the chili to a saucepan and warm it over medium-low heat, stirring occasionally. Add a splash of broth or water if it thickened too much. Heat until steaming, about 10 minutes.
- Microwave in 60-second bursts — Place a single serving in a microwave-safe bowl. Microwave for 60 seconds, stir, then repeat in 30-second intervals until hot. Cover loosely with a paper towel to prevent splatters.
- Slow cooker on low — For larger batches, reheat in a slow cooker on low for 1.5–2 hours. Stir once halfway through and add a little broth if needed. This works well for parties or meal prep containers.
- Oven at 350°F — Transfer the chili to an oven-safe dish, cover with foil, and bake for 15–20 minutes until hot. This method works best if you are reheating multiple servings at once.
Nutritional Breakdown (per serving)
- Calories: 411
- Protein: 47g
- Fat: 8g
- Saturated Fat: roughly 1.5g
- Carbohydrates: 35g
- Fiber: 9g
- Sugar: 2g
- Sodium: around 669mg
- Cholesterol: about 73mg
FAQs
Can I freeze Giada White Bean and Chicken Chili?
Yes. Cool the chili completely, then transfer it to freezer-safe containers leaving 1/2 inch of headspace. It keeps well for up to 3 months. Thaw overnight in the fridge before reheating on the stovetop.
How long does Giada White Bean and Chicken Chili last in the fridge?
Stored in an airtight container, it stays fresh for up to 4 days. Make sure the chili is completely cool before refrigerating to avoid condensation that can spoil it faster.
Can I make this chili in a slow cooker?
You can. Sauté the onion and garlic on the stovetop first, then transfer everything except the lime juice and cilantro to a slow cooker. Cook on low for 4–5 hours or on high for 2–3 hours. Stir in lime and cilantro just before serving.
What can I use instead of cannellini beans?
Great Northern beans or navy beans are the best substitutes. Both have a creamy texture and mild flavor that work well in this chili. Use the same amount — two 15-ounce cans, drained and rinsed.
Is this chili gluten-free?
Yes. None of the ingredients contain gluten, and the recipe relies entirely on beans and chicken for texture. Check your broth label to confirm it is certified gluten-free, as some brands add barley or wheat-based flavorings.
Can I leave out the cilantro?
Absolutely. Replace it with fresh flat-leaf parsley or simply omit it altogether. The chili still tastes great with the lime juice providing the fresh finish. You can also top each bowl with sliced scallions for a similar green pop.
Wrapping Up
This Giada White Bean and Chicken Chili is the kind of recipe you will reach for again and again — quick enough for a Wednesday night, satisfying enough to serve company. The bright lime-cilantro finish keeps it from feeling heavy, even though the broth is rich and comforting. Give it a try this week, and do not be surprised if it becomes a regular in your rotation.
PrintGiada White Bean and Chicken Chili

A hearty, Italian-inspired white chili featuring tender chicken breast and creamy cannellini beans simmered in a lightly spiced broth. The flavors deepen as it cooks, and a bright finish of fresh lime and cilantro keeps it fresh and balanced.
- Prep Time: 15
- Cook Time: 35
- Total Time: 50
- Yield: 4 1x
- Category: Main Course
- Method: Stovetop
- Cuisine: American-Italian
Ingredients
- 1 tbsp olive oil
- 1 medium yellow onion, finely diced
- 2 cloves garlic, minced
- 1 lb boneless skinless chicken breast, cut into 1/2-inch cubes
- 1 tsp ground cumin
- 1 tsp dried oregano
- 1/2 tsp kosher salt
- 1/4 tsp freshly ground black pepper
- 2 cans (15 oz each) cannellini beans, drained and rinsed
- 1 can (4 oz) diced green chiles, undrained
- 2 cups low-sodium chicken broth
- 1 tbsp fresh lime juice
- 2 tbsp fresh cilantro, chopped
Instructions
- Heat olive oil in a large Dutch oven or heavy-bottomed pot over medium heat until the oil shimmers and begins to thin. Add the diced onion and cook, stirring occasionally, for 4–5 minutes until softened and translucent but not browned. Reduce heat if onion starts to color.
- Add the minced garlic and cook for 30 seconds, stirring constantly, until fragrant. Do not let it brown—burnt garlic will turn bitter.
- Add the cubed chicken breast in a single layer. Increase heat to medium-high and sear without stirring for 2 minutes, letting the underside develop a light golden crust. Then stir and continue cooking for 2–3 minutes until the chicken is no longer pink on the outside but not cooked through.
- Sprinkle the cumin, oregano, salt, and pepper over the chicken and stir to coat evenly. Cook for 1 minute until spices are fragrant and begin to toast lightly.
- Add the drained cannellini beans and diced green chiles with their liquid. Stir to combine with the chicken and spices.
- Pour in the chicken broth and bring the chili to a vigorous simmer over high heat, then immediately reduce the heat to low. You should see gentle bubbles breaking the surface—this maintains tenderness and prevents the chicken from drying out.
- Cover the pot partially with a lid (leave a small gap) and simmer for 20 minutes, stirring occasionally. The chili will thicken slightly and the flavors will meld. The chicken should be cooked through and tender; if you check a piece, it should register 165°F (74°C) internally.
- Remove the pot from heat. Stir in the fresh lime juice and chopped cilantro. Taste and adjust seasoning with additional salt or a squeeze more lime if desired.
- If you prefer a thicker consistency, use a potato masher to lightly mash some of the beans against the side of the pot before adding the lime juice. This releases their starch and creates a creamier texture without adding dairy.
- Let the chili rest for 5 minutes off the heat before serving to allow the flavors to settle. Serve in bowls, garnished with extra cilantro, a dollop of sour cream or Greek yogurt, and a few slices of jalapeño if desired.
Notes
Store leftover chili in an airtight container in the refrigerator for up to 4 days. To freeze, cool completely and transfer to freezer-safe containers, leaving 1/2 inch headspace; freeze for up to 3 months. Thaw overnight in the fridge before reheating. Reheat on the stovetop over medium-low heat, adding a splash of broth or water if the chili has thickened too much, until steaming (about 10 minutes). Alternatively, microwave in 60-second bursts, stirring between intervals, until hot.
Nutrition
- Calories: 411
- Sugar: 2g
- Sodium: 669mg
- Saturated Fat: 1g
- Carbohydrates: 35g
- Fiber: 9g
- Protein: 47g
- Cholesterol: 97mg
Keywords: white bean chicken chili, Giada chili recipe, cannellini bean chili, healthy chicken chili, weeknight chili, Italian white chili, stovetop chili, easy chili recipe, white bean chili